


Do you wish you could replace the tiresome task of manually assembling repetitive documents with a document automation system? Here’s a guide on how you can easily auto-insert client and matter information to letters you send out frequently.
Step One: Create Document Template
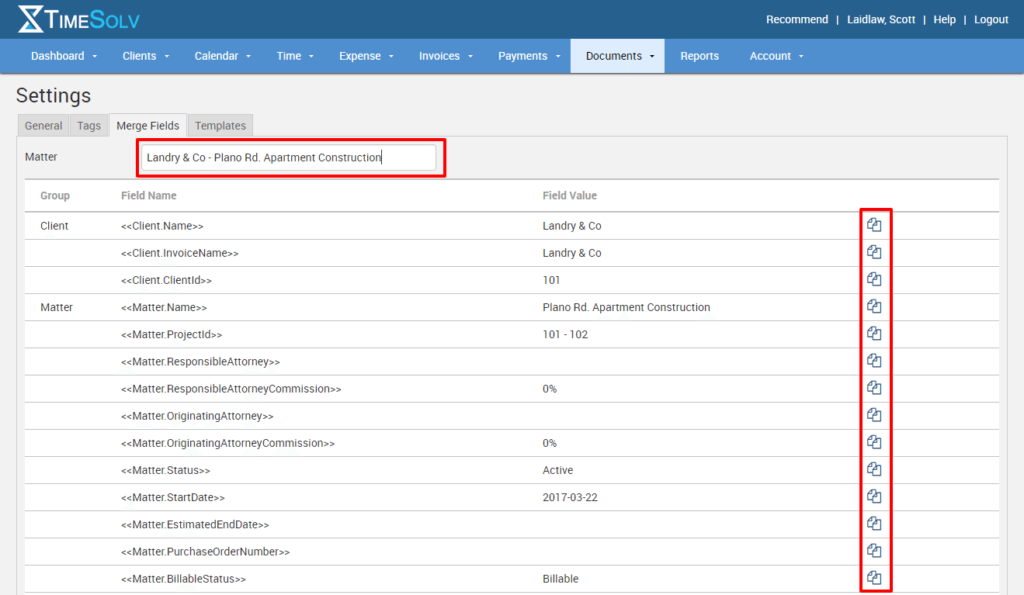
Firstly, click on Documents>Settings>Merge Fields tab. A list of available merge fields will appear. The Group column lists the type of merge field group, i.e. Client, Matter, User, and Date. The Field Name column lists the text you will copy and paste into your document. The Field Value column will show you the data information as it will be displayed for this relevant client-matter. When you click on the documents icon in the last column, it will copy the Field Name text onto your clipboard, ready for pasting into your document.
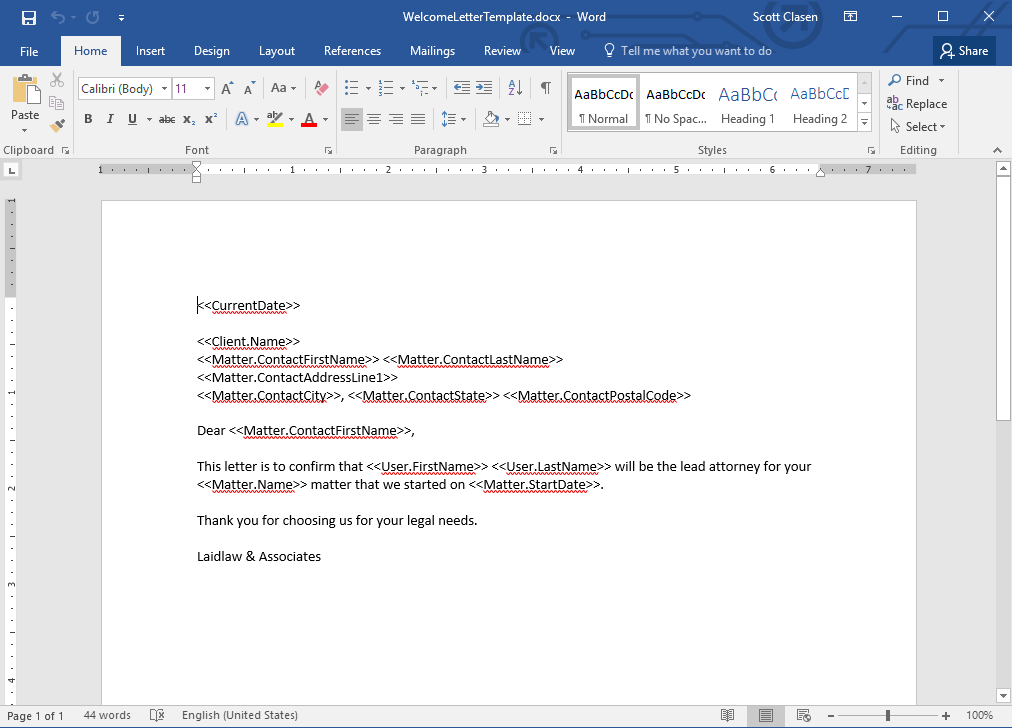
To do this, open a document in Microsoft Word and write up the draft for your frequented letter. Copy and paste the Field Name text wherever you need to insert client-matter data. You’ll end up with a document similar to our sample Welcome Letter below.
After saving this document, proceed to the next step in this guide on how to upload to TimeSolv!
Step Two: Upload Document Template
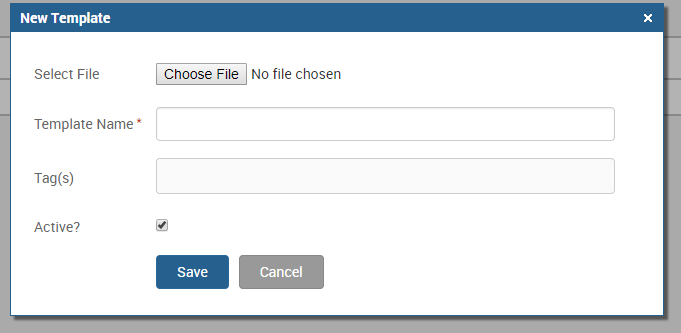
Click on Documents>Settings>Templates and then the New Template link.

Select Choose File and navigate to your saved template document. Assign a Name and any necessary Tags. Select the Active checkbox to ensure the new template is operative, then click Save to complete the upload process.
Step Three: Creating New Document from Template
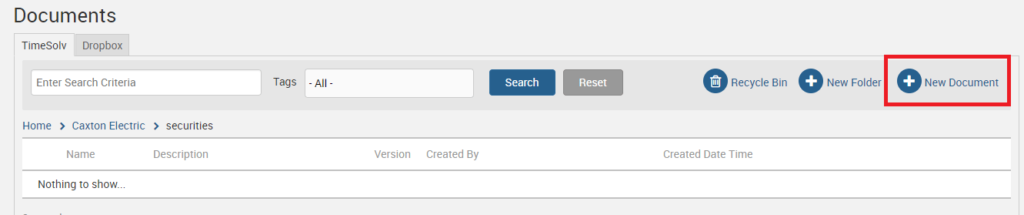
Once the document template is uploaded, navigate to Documents>Documents and select the client-matter-folder where you wish to store this new document. When you click on the New Document link, you can choose Create From Template as the source.
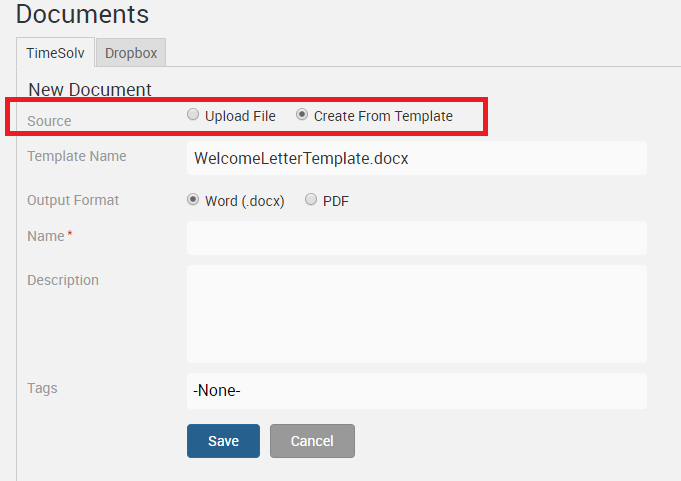
A list of templates you have uploaded will appear. Select the relevant template and specify whether you wish to create the template as Word or PDF. Assign a name to the document, and add a description. You can also add additional tags to the ones you created for this template earlier. Click on Save.
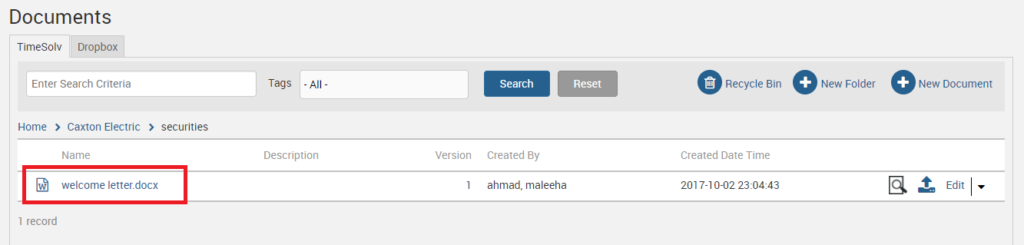
You can now download the file by clicking on the file name:
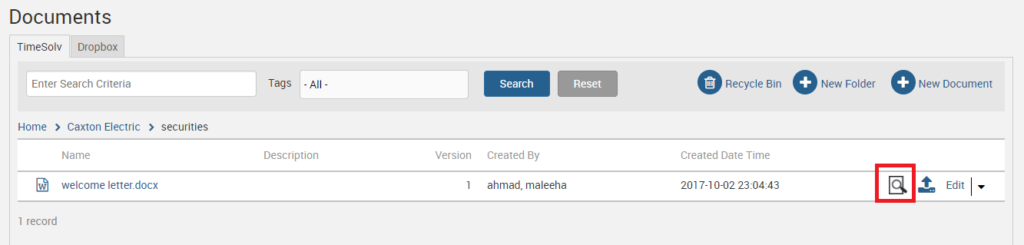
Or view a preview by hovering over the magnifying glass icon:
You will see that all the merge fields you placed in the document template are now replaced with relevant client-matter information.
The document automation feature will save your firm valuable time so that you no longer have to manually fill in clients, addresses, and other details for each individual recurrent document type. These templates allow you to generate detailed documents in a matter of seconds.
If you’d like more help with contacts, call us at 1.800.715.1284, email us at support@timesolv.com or Contact support.
Don’t forget to register for our Wednesday Webinars where we review all the Tip of the Week posts from the past month. Our next Wednesday Webinar will be September 6 at 1 p.m. EDT/10 a.m. PDT.
![]()