Tip of the Week: Attaching expense receipts and invoicing


Did you know how easy TimeSolv makes tracking expenses and billing your clients accurately? By being able to attach pictures of expense receipts to a matter, you can provide proof of expenses as part of the billing process.
Click on Expense>Expense Entry. Towards the bottom, you’ll see a ‘Choose file’ button next to the Receipt row. There are four file types to choose from, including gif, jpeg, pdf, or png. The maximum allowed file size is 10,000 MBs, which should be plenty to accommodate a receipt.
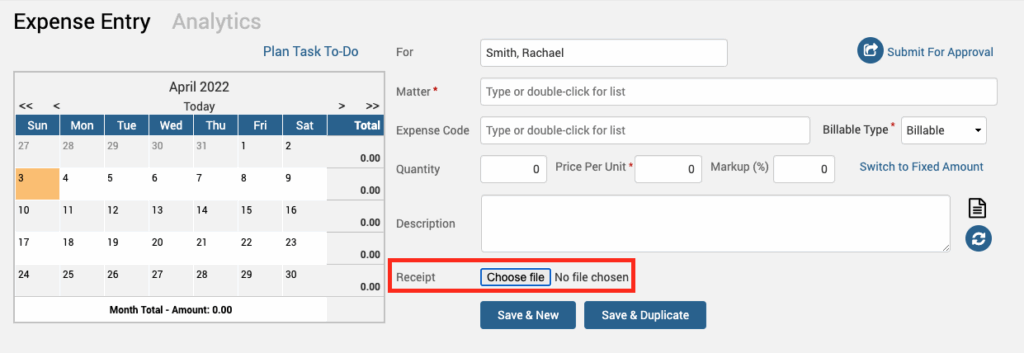
Once the file is uploaded, it will be listed at the bottom of the screen. A little magnifying glass next to the listed file will allow you to preview a picture of the uploaded receipt, which can be a huge time saver. You can even download a copy, or edit and delete the receipt altogether. If you haven’t received the receipt yet, you can come back here and add it later on.
Now, when it comes to attaching the receipt to the invoice, TimeSolv will automatically attach any uploaded receipts by default to help save you time. Create a draft invoice for the expense as you normally would, and find that the picture of the receipt has been attached to the draft invoice when you preview it.
To disable the expense receipts from appearing on invoices, a quick change to the billing template will stop the default attachments. Click on the relevant invoice’s dollar amount under Invoices>Drafts screen. Then click to edit the billing template being used.

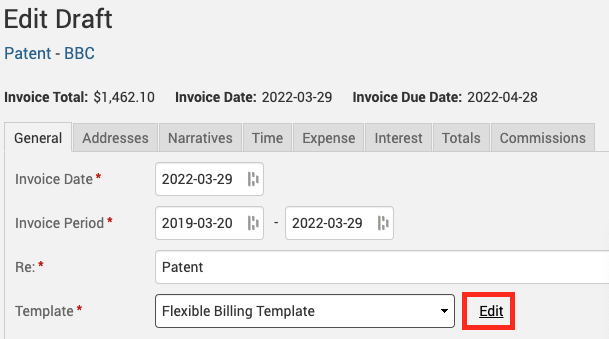
Under the Expense tab, uncheck the ‘Attach Receipts to Invoice’ box.

You will no longer have the expense receipts attached to the invoice. TimeSolv constantly strives to help make managing your law firm as efficient and accurate as possible.
wherever you do.
TimeSolv in action.