


TimeSolv understands the importance of keeping all your contacts organized so that when you need to pull them up in the system, everything is in order and accurate. We offer a series of different contact types that are defined when saving a new contact. Users need to understand what each type of contact means.
There are two areas that users can save contacts under, the matter level and the client level. TimeSolv recommends users save contact information under the client level, to avoid having to create those same contacts under each individual matter for the same client. There is also the risk of creating contact duplicates if users continue to create the same contact under different matters belonging to the same client. This also creates issues when an address or phone number changes, as the user ends up facing multiples of the same contact but some with outdated details.
This week’s Tip of the Week will show you how to create new contacts, and what each contact type means for invoice purposes.
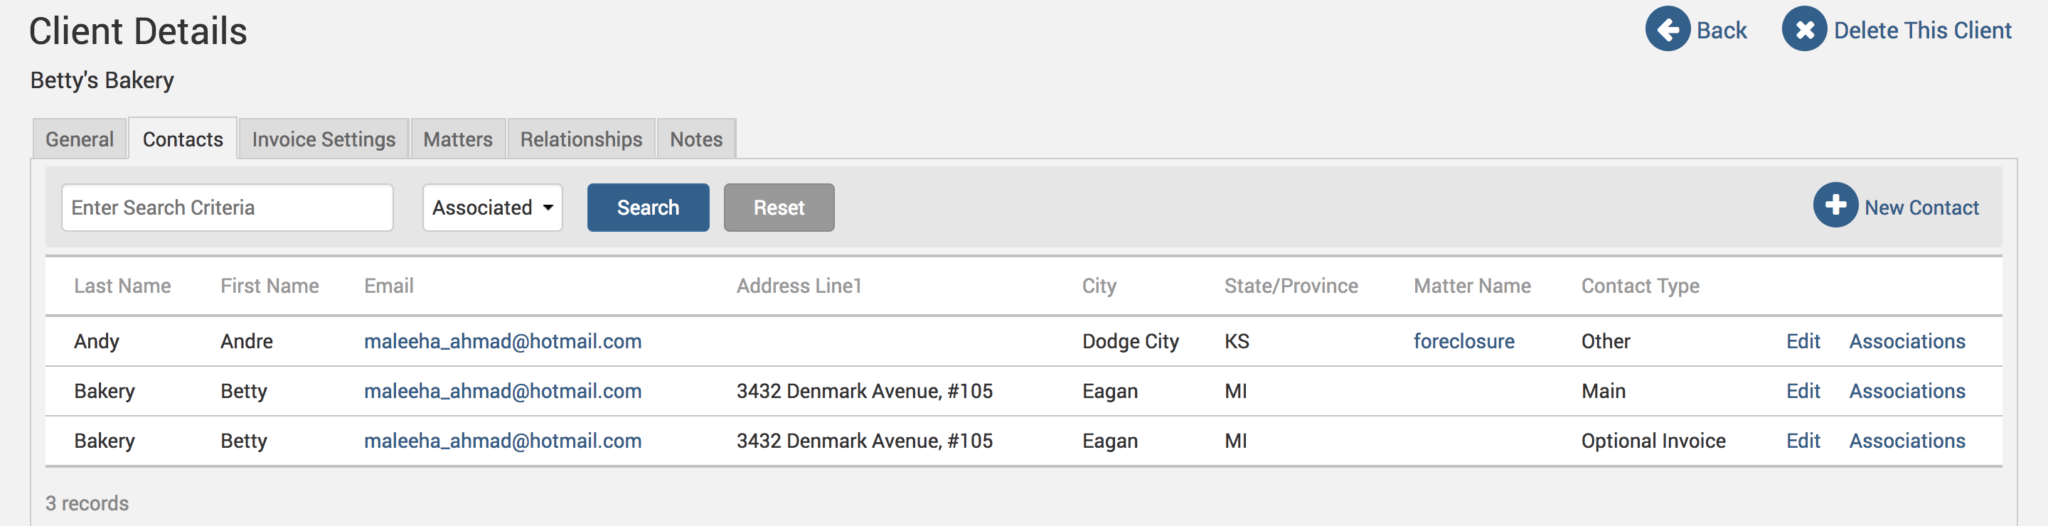
To add contacts at the client level, click under Clients>Clients & Matters>[client name]>Contacts>New Contact.
When saving a new contact, whether it is under the client level or the matter level, users will get four options regarding the type of contact being created:
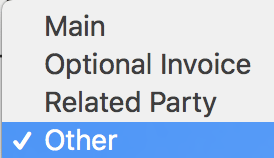
If the contact is saved as a ‘Main’, this contact will be the one used in invoices, unless there is an ‘Optional Invoice’ contact, which will always supersede a ‘Main’ contact. A ‘Main’ contact would be, for example, the president of a company. An ‘Optional Invoice’ contact would be, for example, the accounting department of that company where the president wants the invoices to be sent to. Any contacts listed under ‘Related Party’ or ‘Other’ are for informational purposes only, and cannot appear on invoices.
So, to summarize, this is the priority order in which the invoice will fetch contact information:
- Matter contact > Type ‘Optional Invoice’.
- Matter contact > Type ‘Main’.
- Client contact > Type ‘Optional Invoice’.
- Client contact > Type ‘Main’.
If contact details are missing at any of the above levels, the system will continue to go down the list in that order to fetch the contact details for the invoice being generated.
Contacts for statements
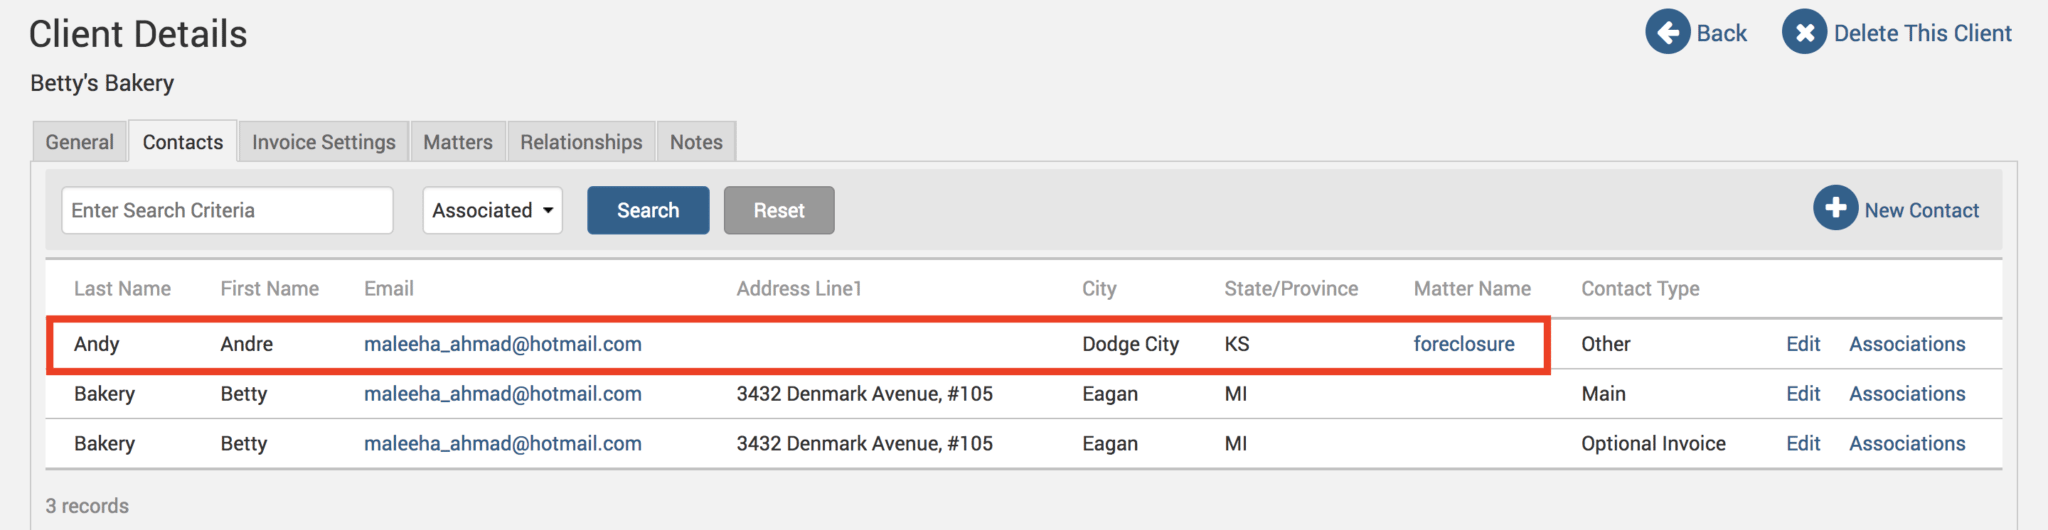
Now, when it comes to statements, things are different. TimeSolv will only pull contact details saved under the client level; any contact information listed under the matter level will not be acknowledged when creating statements. If the user has saved all the contact details under individual matters and needs a quick fix to get the contact details pulled up on statements, click under Clients>Clients & Matters>[client name]>Contacts. Any contact that shows the matter name under the ‘Matter Name’ column means that the contact details are saved at the matter level (and therefore will NOT appear on a statement):
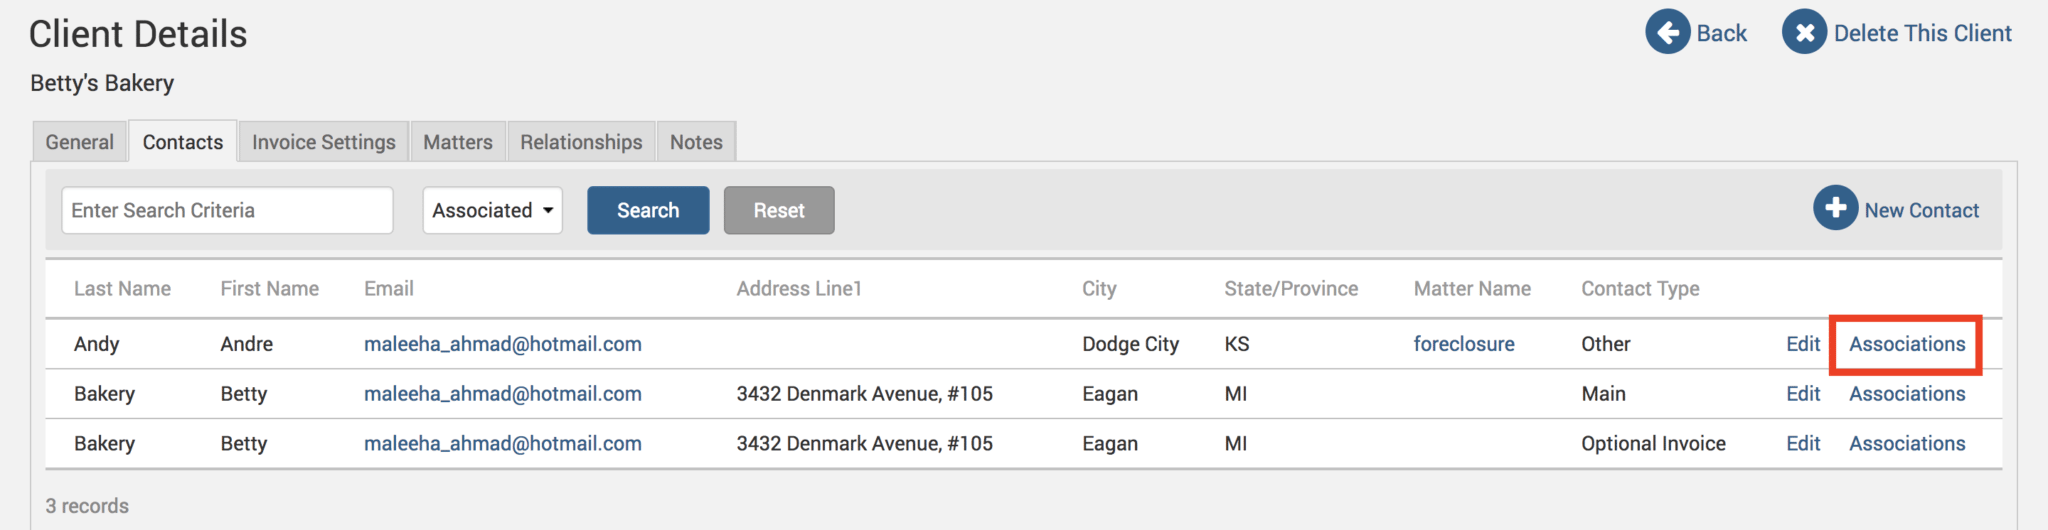
Click on the Associations link next to the contact that is saved under the matter.
Find the client level contact for that matter. Again, users can recognize it as a client level contact if there is no matter name listed under the ‘Matter’ column:
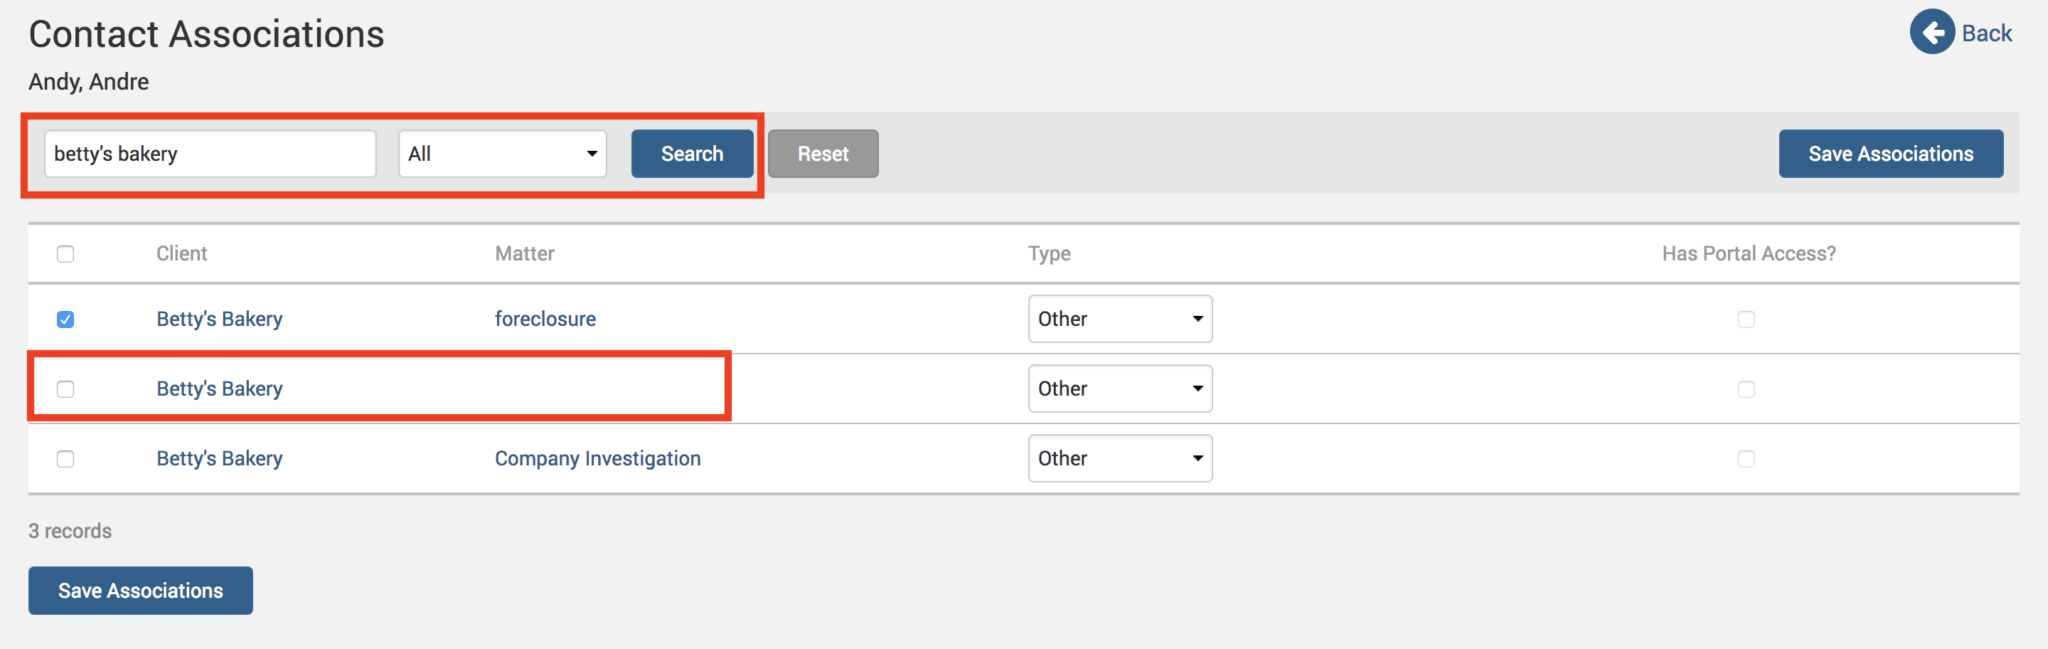
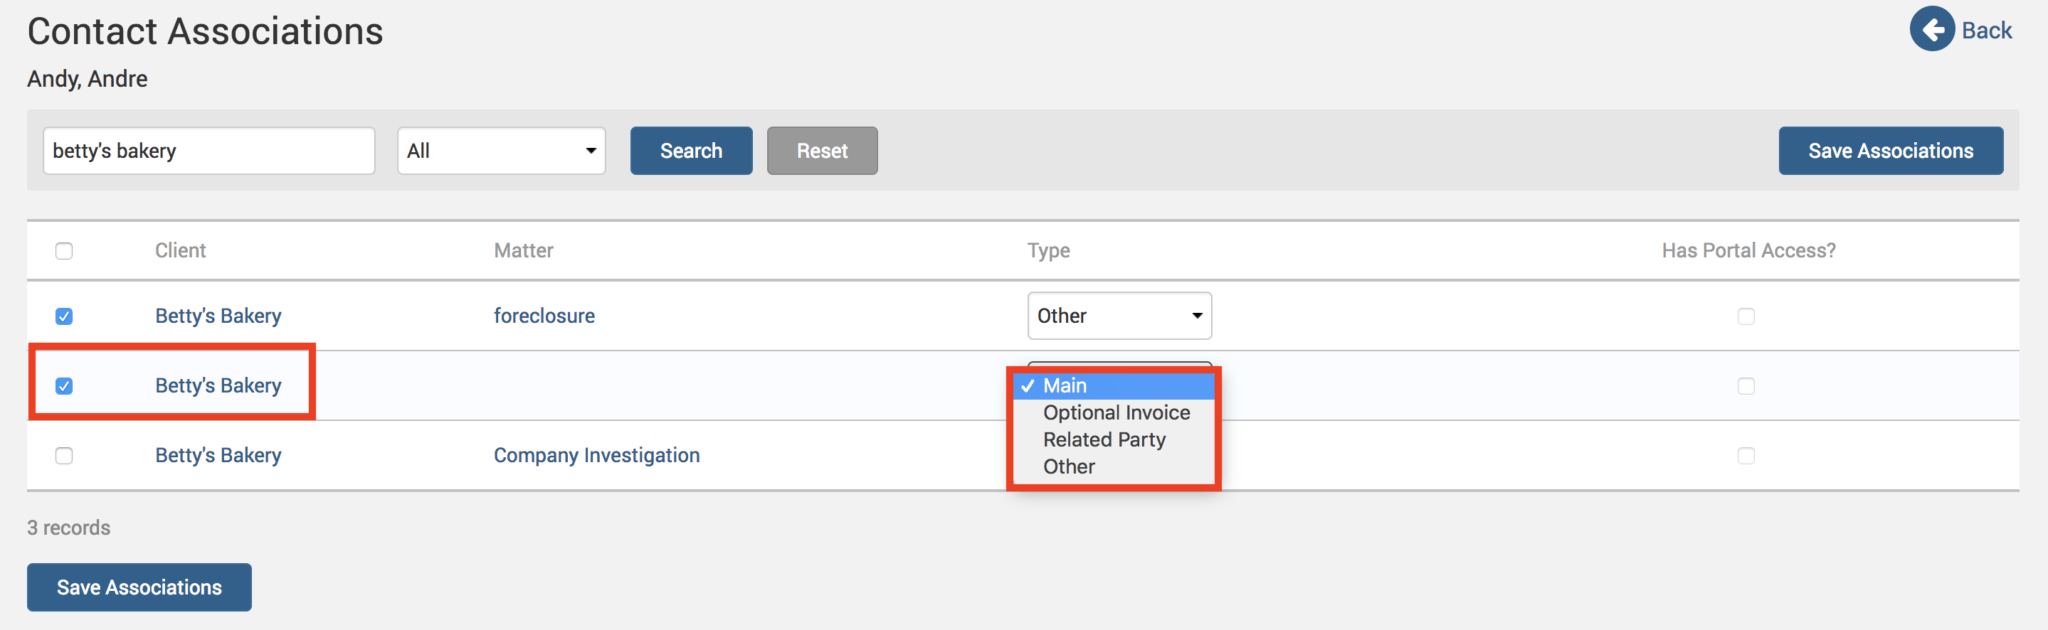
Select that contact, and make sure to select ‘Main’ or ‘Optional Invoice’ as the contact type. Click on Save Associations button and those matter level contact details will now be listed under the client details through the new association.
Go ahead and create a statement for this client and users will find those contact details now appear.
If you’d like TimeSolv support to help you in understanding our contacts hierarchy, please call 1.800.715.1284 or Contact support.